
Today I'm sharing my December Christmas Project made for Eileen Hull's blog. All month her Inspiration Team will be sharing projects on Wednesdays using many of Eileen's wonderful Sizzix dies!
I made a Winter Village Holiday Decoration using her House Ornament Die.

I used a string of battery operated Starry Lights to illuminate both inside and outside of the houses. 


I was inspired by a page in a catalogue that I recently received in the mail.
Viva Terra.
Ceramic Holiday Village Tea lights
Viva Terra.
Ceramic Holiday Village Tea lights

Here's how my little village looks in daylight where you can see more detail on the houses.
I loved how the white looks like snow on the windows on the white house so I didn't scrape it out too much!


Here's how I made the houses.
I just wanted the window wall part of the house on the die

so I cut 4 pieces of matboard 2 1/2" x 4" to fit just that area.
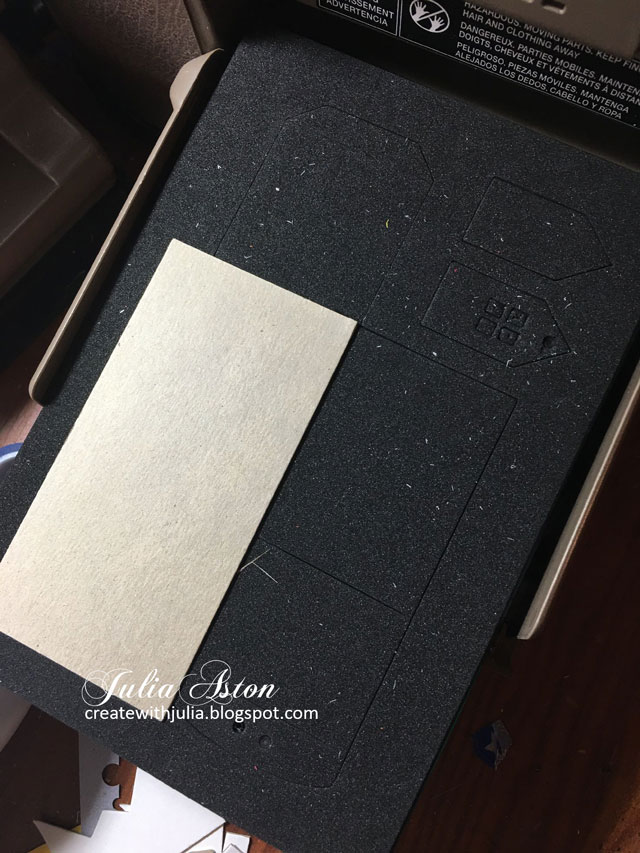
I cut off all the tabs on the pieces. (I did cut 4 but only showing 3 here!)
My first thought was to just have the four sides of the house attached to each other with an open top, but then decided I wanted roofs on them, so after I embossed them I cut off the peaks on two of the sides.

I embossed them using a pancake griddle (purchased specifically for this purpose! - about $20 on Amazon or you can use one you have that you no longer use for food). I heated the grill to 300 degrees, laid a craft mat on the griddle, then the mat board pieces. I first melted some Glittering glass on the pieces (you could also use UTEE). When that was all melted, I added Molten Dimensions Golden Rod.

When it was all melted, I just slipped the craft mat off the griddle and I could touch the pieces after just a couple of minutes cooling.
(I made a couple of extra gold sides for this first go at the embossing, in case I messed it up somehow!)

The window areas filled with the melted EP and I just poked most of it out using a pick. I didn't try to get them totally cleaned out, I liked the look of slight raggedness - especially on the white house where it looked like snow on the windows!

I repeated the same process using Molten Polished Silver and Molten White Wonder to create the silver and white houses.
For the roofs, I cut 2 pieces of matboard 2 1/2" x 1 3/4" and embossed them in the same manner as the houses.
I trimmed off any run-offs of the melted EP on the pieces with scissors, it cuts like butter!

For the first house I used Tombow Glue on the edges to glue the houses together.
Here you can also see how I cut off the peeks on two of the sides of the house so I could add a roof. The two rectangles are the roof pieces.

Then I found that hot gluing them was faster and had a stronger hold. (DUH!) I also ran some hot glue on the inside edges as far as my glue gun would reach from both the tops and bottoms of the houses (before adding the roofs) for added strength.
Then I hot glued the roofs on by running the glue along the edges at the top of the house and pressing the roof onto the glue, one side at a time.

I wove some of the Starry lights inside the houses as well as between and around them. I sprayed some white bottle brush trees with Ranger Distress Iced Spruce Stain Spray and placed them around the houses. I decided to leave the Salvaged Snowman and Decorative Deer in their natural state (rather than coloring them up) to keep the winter scene soft and serene!

I am so happy with how my little winter village came out and I love walking into the room where I have it set up and seeing it's golden glow at night! And it's a decoration I can leave up all winter!
The Creative Inspiration Team hopes you will stop by Eileen's Blog every Wednesday in December for more holiday inspiration!
I'm linking my village to:
Creative Artiste Mixed Media Challenge
Anything Goes
The Funkie Junkie Boutique Blog Challenge
It's the Holidays
I'm linking my village to:
Creative Artiste Mixed Media Challenge
Anything Goes
The Funkie Junkie Boutique Blog Challenge
It's the Holidays

Accessories:
House Ornament Die - Eileen Hull/Sizzix, matboard, Molten Dimensions Embossing Powders Golden Rod, Glistening Glass, Polished Silver, White Wonder - Eileen Hull/Emerald Creek, Bottle Brush Trees - Joann, Iced Spruce Ranger Distress Spray Stain, hot glue gun, Salvaged Snowmen ad Decorative Deer - Idea-ology, electric pancake griddle, craft mat, battery operated Starry Lights string - Christmas Tree Shop
9 comments:
Sweet, Julia! I love this little village with the glowing lights in the windows! Amazing, my friend!
Oh Julia, this really is a little piece of Christmas magic, Jo x
Julia, these are so stinking' cute!! I love them, especially covered in the embossing powder!
Gorgeous, Julia. So elegant and creative. Love the village! Hugz
Julia, this is just so lovely! Great colours in the three houses, wonderful little tiny lights, and perfect addition of the trees, snowman, and deer.
they look so awesome....nicely done!
xx Karen
Such a clever bakery! I love this look of embossed card, and the whole village is somptuous. Thanks for sharing with us at Creative Artiste Mixed Media challenge!
Julia, these little house decorations are just as sweet as can be! I love reading how they came together--what fun holiday baking and how clever to manipulate the die cuts to make them with the peaked roofs! This is indeed a lovely scene, and I'm sure it's even more gorgeous in real life. Thank you so much for playing along in our It's the Holidays! challenge at The Funkie Junkie Boutique blog! Merry Christmas!
You did a great job making those little houses look like metal! I had to go back and look again so you had me fooled! Thanks for joining us for our challenge at the Funkie Junkie Boutique Blog. Hugs from Ginny at Polly's Paper Studio!
Post a Comment