Wednesday, January 9, 2013

A Frosty Flower for My Friend

I was the hostess for the Color Challenge over on Split Coast yesterday  - and I chose cream, raspberry and brown for the challenge with the optional 'dessert'  to make it floral or frosty.

I did both - my flower is all frosty with coarse glitter and a little bit of Buttermilk Acrylic paint on the petals.
I embossed an oval in the center of my card then cut an oval in brown Bazzill to layer inside the frame. My flowers were made with the Sizzix Flower 3D die. My sentiment is from the Vintage Garden Seed Packet set from Waltzingmouse.  I love the font on this don't you??

It would be a little tough to squeeze this into an envelope and mail it - but it would be a lovely card to 'hand deliver' to a friend!

Stamps: sentiment from Vintage Garden Seed Packet - Waltzingmouse
Paper: vintage cream - PTI, Raspberry Ripple - SU, brown - Bazzill
Ink: Archival Ink Coffee
Accessories: large oval punch - SU, buttermilk acrylic paint - Americana, oval Nestability, Flowers 3D die - Sizzix, Scotch Quick Dry Adhesive, coarse glitter - Martha Stewart, foam tape.
 

Sunday, January 6, 2013

A Checkered Thanks

I made a simple thank you card using a checkered background stamp from Off Beat Backgrounds by Waltzingmouse . The 'thanks' is from Say It Loud another WMS set. I stamped the checkers on a white panel - layered it to a Simply Chartreuse panel and layered that onto the card.

My design was inspired by a checkered green trimmed pillow at the web store - MacKenzie-Child - the inspiration site for Saturday's Inspiration challenge over on Split Coast.

This is also for
 the Cas-ual Fridays challenge - to make a CAS thank you card.

the Less is More challenge - use black and white and a touch of color

Thanks so much for stopping by today - hope you are having a lovely weekend!

Stamps: Waltzingmouse - checkered stamp from Off Beat Backgrounds, Thanks from Say It Loud
Paper: white, simply cheatreuse - PTI
Ink: Versafine Onyx Black

Saturday, January 5, 2013

Is it Still Christmas????

Yeah -  didn't we just finish with Christmas??  What's a Christmas card doing here on my new post????
WELL -  I've decided to join in on a couple of Christmas challenges so I'll have all my cards made by the time Christmas rolls around again this year!

My creative stamping friend, Stephanie and her friend Lauren, run a fun blog called Jingle Belles - a monthly Christmas Card challenge blog - and the January Challenge is to use some new stuff.  I used some new inks - Memento Espresso Truffle and Grape Jelly.  The dark paper and berries on the wreath on my card are really a dark purple - I think my camera made them look more navy than purple  :(  

And I'm also joining in with the Monthly Christmas Challenges on Split Coast.  The January challenge is to use non-traditional colors -  I think Purple and Espresso fit that bill!!  I'm going to make 4 cards each month with this challenge. So I'll have more than enough to send out come December!
I bought this Papertrey Stamp set, Wreath for All Seasons,  quite some time ago - and never got it inky so I was glad to get the opportunity to get it out and use it.  They stamp beautifully!

Three goals I have for Christmas cards are to make them CAS and flat -  so I can make multiples easily and don't need extra postage, and, of course, they also need to look very impressive!!

Stamps: Papertrey Ink - Wreath for All Seasons
Paper: Vintage Cfream, Royal Velvet - PTI
Ink: Memento Espresso Truffle, Grape Jelly

Friday, January 4, 2013

Waltzingmouse Secret Santa Revealed!

This past December - I participated in the Waltzingmouse Secret Santa run in the WMS forum, in the Stamping Room under Stamping Chat.  Everyone who signed up got the name of a person to be Secret Santa to by sending them a card they made using Waltzingmouse Stamps.  Today I'm sharing the Christmas card I sent and the one I received!

Here is the card I sent to Kim Heggins who I was Secret Santa to.  I used stamps from Candy Jar Christmas and Candy Jar Christmas Fillers.  Inside the card was stamped   Been good??!

And then I received a card in the mail and found out my Secret Santa was Katie Gehring.  She sent me this beautiful Christmas Tree card.  I just love how she cut out her tree on a panel and stamped all these little stamps from Oven Fresh Gingerbread Joy on her card base and laid the tree panel over it. The banner sentiment is perfectly placed, don't you think?!  AND she wrote me a lovely note inside as well!   Thank you Katie!
All of the Secret Santa cards are being linked over at the Waltzingmouse Blog today -  let's go check them out!  We can get some ideas for this year's Christmas Cards !?!?!   It's never too early to start right!?!

Nice List Card:
Stamps: Waltzingmouse - Candy Jar Christmas, Candy Jar Christmas Fillers,
Paper: white, Pure Poppy - PTI
Ink: Memento Tuxedo black, Lady Bug
Accessories: Copics - E13, E59, R05, BG10, circle and scallop circle punches - SU, foam tape, swiss dots ribbon - PTI, Adornit Gems, Square Lattic embossing folder

Thursday, January 3, 2013

A Chalkboard Birthday!

I was SO excited to see the Chalkboard Technique as the Technique Lovers challenge over on Split Coast this week.   I've had this tutorial by Betsy Veldman printed out on my desk for a while now.
 
So Joan's challenge made me finally sit down and try to do it!  You'll find all kinds of chalkboard cards in the SCS challenge gallery here.

 If you look at Betsy's birthday sample - you'll see I pretty much copied it!! Using stamps that I had from Cas-ual Fridays Stamps and Taylored Expressions - I created this chalkboard card (well it's actually a 3"x4" tag type creation - it doesn't open)
 What you see here is my third try at it - the first one wasn't spaced well and the 2nd one I tried over stamping the white embossing with Fresh Snow ink and I WAY OVER over stamped it! So - it's a process that I think you get better at the more you do it!

First I stamped the sentiments with Versamark and embossed them in white. Then I stamped the banner over the HAPPY BIRTHDAY using Fresh Snow - I didn't get it quite centered over the sentiment so I added the pink heart gems to off set it!  I cut off the side edges up to and around the banner ends so they stick out.  Next I drew the framing lines with a white Prismacolor watercolor pencil and drew some red lines around NOISE and yeah BABY. I rubbed a little bit of Fresh Snow Ink around the edges and open spaces and finally added the ribbon and buttons with twine.

Pretty cool huh??!!

Stamps: Banner and Happy Birthday from It's a Banner Day 1 - Taylored Expression, all other sentiments from Woot Woot by Cas-ual Fridays Stamps
Paper: True Black, Hibiscus Burst, Hawaiian Shores - PTI
Ink: Versamark, Fresh Snow - PTI
Accessories: caribbean  and; pink sorbet twine - The Twinery, buttons - PTI, ribbon - PTI, glue dots, heart gems - Amuse, white and red Prismacolor watercolor pencils, white embossing powder, hot gun

Wednesday, January 2, 2013

A 10 Minute Anniversary

I made this clean and simple anniversary card for the Color Challenge over at Split Coast this week - Hostess Vicki asked us to use silver, gold and white.
Once I decided on the design - it was a snap to create -  I used a Fleur de Lis square Nestability for the silver piece, a stem from the Foliage set by Spellbinders and I cut the sentiment with a Labels 14 Nestability.  Then I just layered them all to the card base with foam tape for dimension and popped three clear heart gems onto the sentiment from the Cameo to Go set by Waltzingmouse..  VERY quick - VERY easy!

It was SO quick and easy that I decided to make another one since I had all the dies out on my worktable.  This time I used patterned papers instead of gold and silver and added just 1 red heart gem to the sentiment.
I sent this to my stamping buddy - Anne Harada - as she and hubby celebrated their 24th anniversary yesterday -  yes - they were married on New Year's Eve!. Using patterned paper instead of gold and silver makes this Anniversary card a little more casual.

I'm entering my gold/silver card in this weeks CASology challenge Week #25
I just purchased my brushed silver and brushed gold papers  - so they are new!

Stamps: Waltzingmouse - Cameo to Go
Paper: white - PTI, brushed silver and brushed gold - SU, 2nd card - vintage cream - PTI, Simply Chartreuse Pattern Pack - PTI
Ink: Versafine Onyx Black
Accessories: foam tape, foliage - Spellbinder, Fleur de Lis Squares and Labels 14 - Nestabilities, heart gems - Michaels.

Tuesday, January 1, 2013

A Snowman Valentine

Ok - so I've waved goodbye to Christmas, Welcomed in 2013 and am already saying 'hello' to Valentine's Day!

We had a fun Queen for the Day challenge last week over on Split Coast - Trisha posted a list of all the Queens for 2012 with the date they were queen - and we were to CASE a card from the Queen closest to our birthday!  My talented stamping friend Peggy (pegmac71) was queen the day after my birthday last year.

I cased her adorable Top Note Snowman card First, because it is SO totally CUTE - and second because she sent it to me for Christmas!

I needed to change some things - so I made mine a snowman Valentine - using red and pink papers, clear heart gems for the pupils in the eyes and sparkly hearts for the hat and nose!  The sentiment is from a lovely new Valentine set called My Heart from Waltzingmouse.  I embossed the hat with the Square Lattice Emb folder from SU.
 AND I got my chalk out for the light dusting on the cheeks - my tray of chalk hasn't seen the light of day in years! I must remember to use them for coloring images! I also used my Top Note die from Stampin'Up - which I used ALL the time when I finally purchased it (after holding out for quite a while!) but hadn't used lately at all.

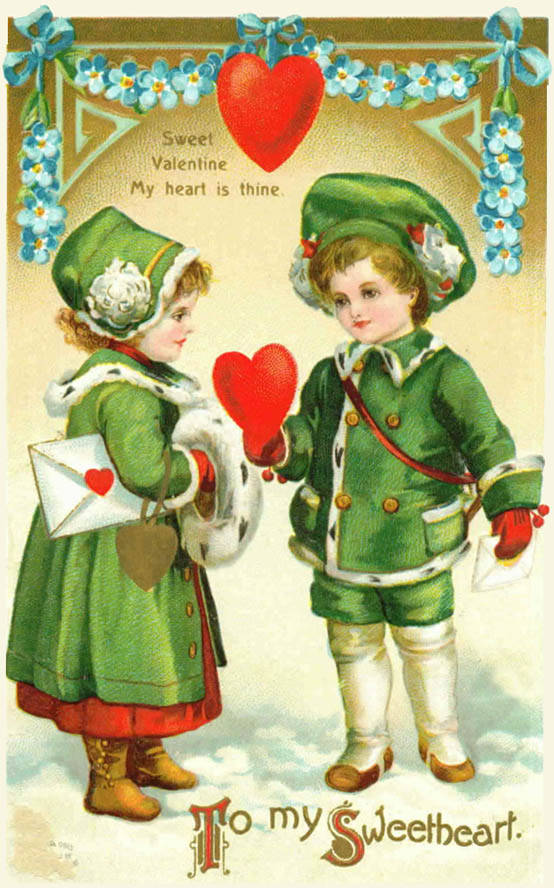
I know we don't necessarily think of snow being associated with Valentines -  but Valentine's Day does occur in February when we often have snow on the ground (depending on what part of the world you live in).   Here are a few free vintage images I found on line


So there you go -  snow/winter and Valentine's Day! 

Stamps: Waltzingmouse - My Heart
Paper: white, Raspberry Fizz, Pure Poppy, True Black, Sweet Blush - PTI, glitter paper - Michaels
Ink: Versafine Onyx Black
Accessories: pink chalk, glue pen, Top Note Die - SU, Small oval punch - SU, small heart punch - McGillo, large heart punch - EK Success, 1/4" and 1/8" punches - Fiskars, 1/2" circle punch McGill, square lattice embossing folder - SU, clear heart gems -Michaels