Tuesday, March 7, 2017

A Junk Journal - New Journal Sizzix Die by Eileen Hull!

Eileen Hull has just come out with the most wonderful Journal Die from Sizzix!  It was featured earlier this year at her booth at Creativation (formerly CHA)
I made a junk journal to share with you today to show you how fun and versatile this die is!  If you like to make journals - you are definitely going to want this die!
I have lots of photos to show you just how I put this together.
Die cut the journal cover twice out of matboard
Adhere the pieces overlapping the center hole
Cut two pieces of patterned paper 10" x 8 1/2".  I used papers from DCWV Cranberry Christmas - a pretty damask and a woodgrain.   Mark where the holes are and punch them out. Round the corners with a corner punch.  Adhere the papers to the cover being sure to line up the holes.
Push an Idea-ology Elastic Loop through the center hole so that the loop is on the outside. This will hold the Journal closed.  You could also just use a piece of round cord elastic and tie a knot in it.
Sand over a Found Relative to age the surface.
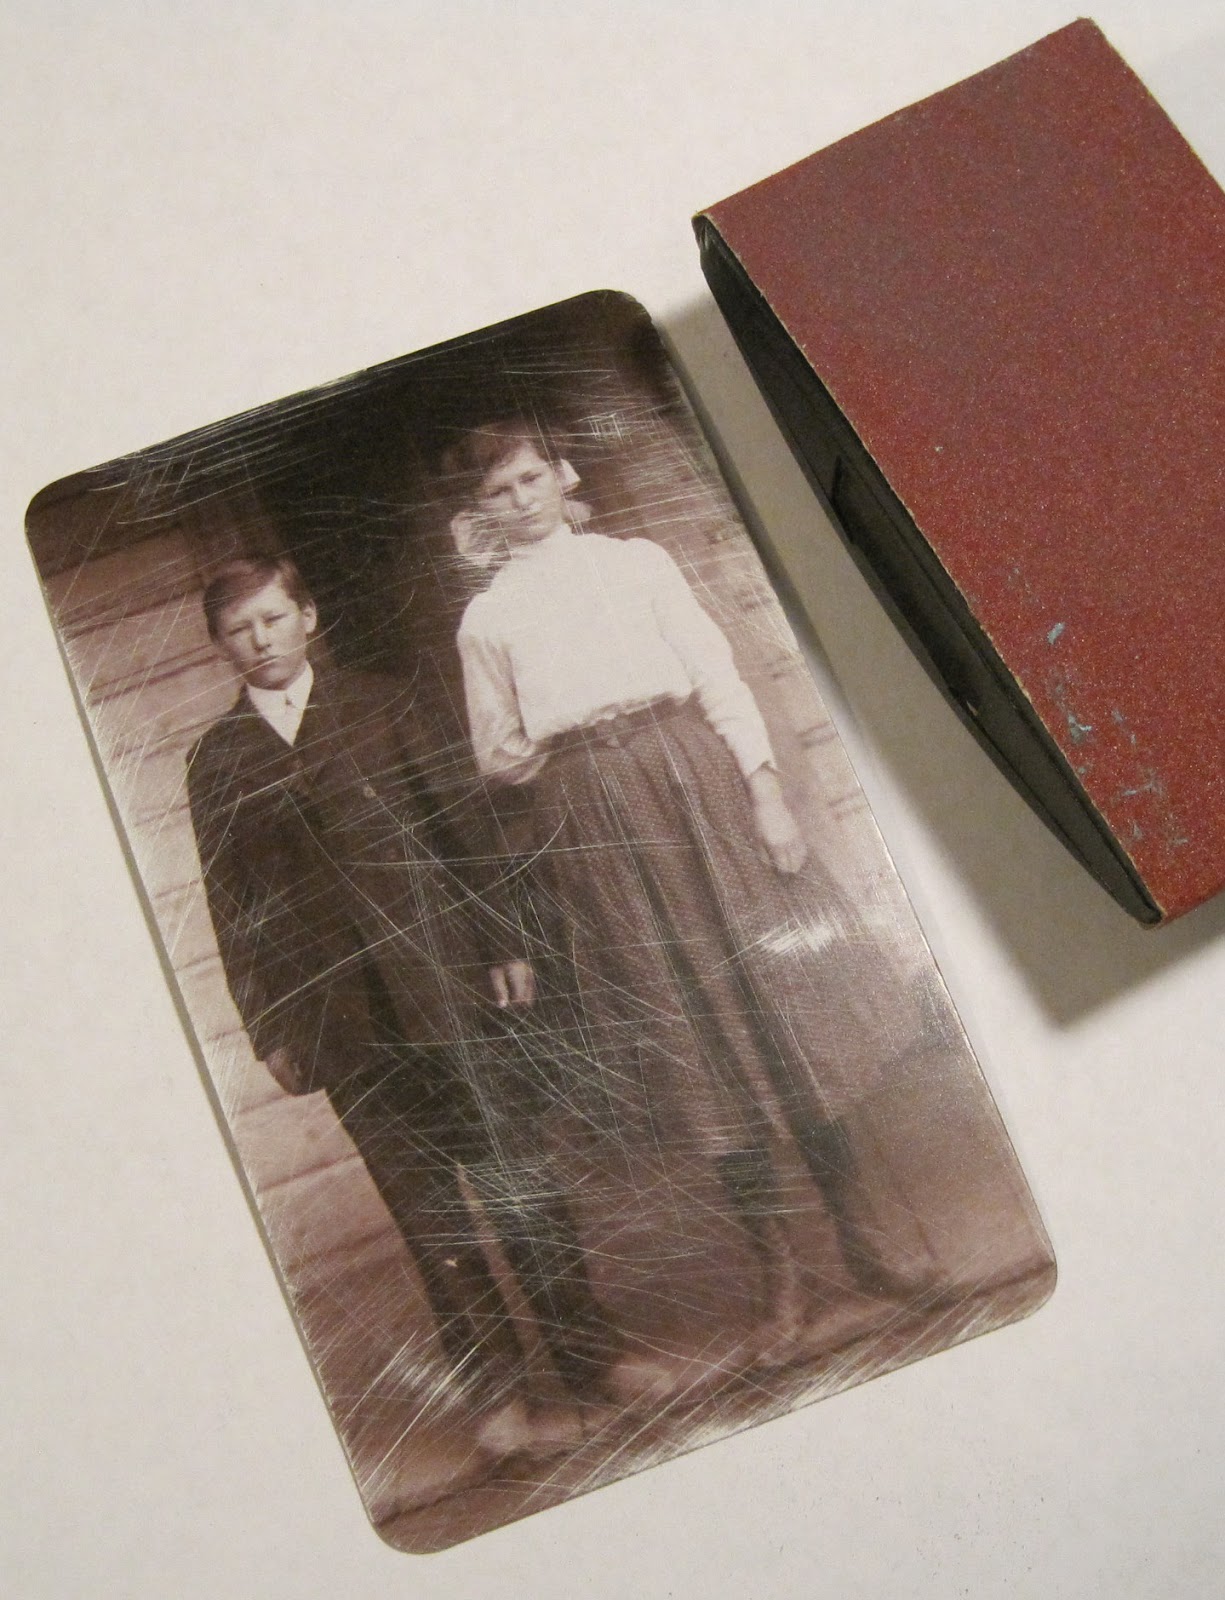
Layer the photo to a piece of card stock, add a Big Chat sticker and a Mirrored Heart, color the cheeks of the children with a Spun Sugar Distress Marker and color the girls bow and blouse with a Weathered Wood Distress Marker.  Adhere this to the cover.
I colored the Mirrored Hearts with Aqua Alcohol Ink.
Cut 8 pages of patterned paper 8"x8" and fold in half to create 8"x4".  Cut 8 pages 8" x 6" and fold in half to create 4" x 6".  I used papers from Paper Stash Dapper by Tim Holtz.
Cut  3 15" pieces of round cord elastic and tie each one through the holes in the folder, pulling them tight and knotting them on the outside.
Divide your papers into 3 groups (mix up the sizes or however you prefer) - and slip them under the cords in the middle of each group (called a signature).
The elastics hold the pages in - but they can also be removed or added to easily using this method.

I added Idea-ology Flash Cards, Pocket Cards, and Big Chat stickers to my pages, highlighting borders with a Black Stabilo Pencil and rubbing with my finger.


I added Page Pockets and Tags to some of the pages for notes or places to insert other mementos, depending on what I use this journal for.


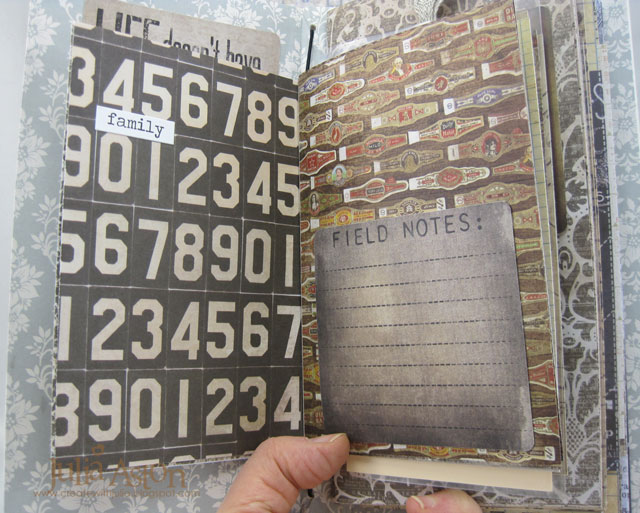
The Journal Die has some tabs on it - I added a few to the tops of some pages and labeled them with Idea-ology Big Chat stickers.


The Journal Die also has a label on it -  I put this on the back, stamped it and added another Mirrored Heart.
The stamp is called Story of Me by Clear Art Stamps I'm not sure if it's still available - it's been in my stash for a long time!
To finish off my Journal - I added a Pine Cone Adornment, Philosophy Tags with Loop Pins and a knot of Linen Ribbon.
Now I just need to fill up the pages!
You'll find this wonderful Journal die here.  Available in April 2017
Please check out Eileen Hull's blog all this month for more wonderful projects using her Sizzix dies!

I'm linking my journal to:

Country View Challenges -  Inspired by Tim Holtz

Happy Little Stampers - Books


Monday, March 6, 2017

Wishing you a day that's totally SPECTACULAR!

Every month a member of Eileen Hull's Creative Team has been asked to do a technique post - I signed up for March and I have used the Faux Gilded technique on my project!
I hope you will check out Eileen Hull's blog  to see my tutorial on just how I used this fun technique along with Eileen's Sizzix dies to create my floral garden project!

I'm linking my faux gilded vase and flowers to the following:
Frilly and Funkie -  Welcome Spring

Stamps:  Background Script and All Occasions Art - Wendy Vecchi/Studio 490.
Paper:  White, Rustic Cream - PTI, Little Sizzles White Matboard - Sizzix.
Ink:  Wendy Vecchi Archival Ink Watering Can, Potting Soil, Orange Blossom, Leaf Green,Archival Jet  Black.
Accessories:  Dies: Gardening Tools Set, 3D Vase, Romance Flower, Spring Leaves - Eileen Hull/Sizzix, Wendy Vecchi Metallic Gold Embossing Paste, Idea-ology Hitch Fastener, Brown Basket Shred - Michaels, Brass Brad, floral wire, Twist N Style Tool - Eileen Hull/Sizzix.

Wednesday, March 1, 2017

March CAS Mix Up Challenge - Smooshing

We are so excited to announce that March marks one full year of challenges at CAS Mix Up.  In celebration, we will be offering two prizes. 
Prizes
$25 Gift Certificate to Simon Says Stamp for Challenge Winner
&
$25 Gift Certificate to Simon Says Stamp for random draw of all entries
 (must follow rules)

The March CAS Mix up Challenge is up today!   Loll is our host this month and here is her challenge for us.

In celebration of CAS Mix Up one year 'birthday', I made a birthday card!
 I used sentiment stamps, smooshing using Ranger Distress Stains on watercolor , a block die cut, foam dots and tiny rhinestones!
I sprayed Ranger Distress stains - Picked Raspberry, Fossilized Amber and Peacock Feathers onto my craft mat and then spritzed with water.  Then I pressed a panel of Arches Watercolor paper into the colors twisting the paper a bit.
 The stains leave such wonderful vibrant color even when mixed with a little water.  I added Tiny Twinkles to the base of 4 of the balloons for a little sparkle, matching the background colors!
I cut the panel to be just a bit larger than my Text Block Party Time die and layered the die cut over the panel using slightly thicker foam dots to hold it up off the panel.
I used two sentiments -  the It's Your is from Birthday Cheer by PTI and the birthday is from Simply Said Happy by Avery Elle.
So please join us this month and show us YOUR smooshing creation!
You'll find lots of inspiration from the Design Team as well as videos of smooshing with different products over at the March CAS Mix Up Challenge blog!
and remember there are One Year Birthday prizes to be won this month!

Stamps:  Birthday Cheer - PTI, Simply Said - Avery Elle
Paper:  White - PTI, Arches Water Color Paper
Ink:  True Black - PTI
Accessories:  Ranger Distress Spray Stains Picked Raspberry, Fossilized Amber and Peacock Feather, Die - Text Block Party Time - PTI, Tiny Twinkles - Taylored Expressions, foam tape.

Saturday, February 25, 2017

Ginkgo Sympathy

Today I'm joining in on the February Papertrey Ink Blog Hop where we are to make a card inspired by this photo:
I was inspired by the gray background, the purple fruits, the gold bowl and lettering on black and the touch of pink of the jewelry boxes!
I gold embossed the Ginkgo stem from Harvest Berries onto a panel of Stormy Sea card, die cut and stamped the berry stems from Spruce and Sprigs using Plum Pudding card and ink.  I layered the purple berry stems over the ginkgo with foam dots.  I  gold embossed the sentiment from Round and Round on a black strip and layered it with foam dots as well.   I stamped the 3 dot clusters from Harvest Berries for a little interest and added 3 pink dew drops.  I layered the panel to a black panel and then to a white card base.

You'll find the PTI blog hop on Nicole's blog here -  I'm off to see how everyone else was inspired!

I'm also linking my card to:
Stamps:  Round and Round (a free set for points), Harvest Berries, Spruce and Sprigs - PTI
Paper:  White, True Black, Stormy Sea, Plum Pudding - PTI
Ink:  Plum Pudding - PTI, Versamark
Accessories:  gold embossing powder, Spruce and Sprigs Die set - PTI, foam dots, dew drops.

Wednesday, February 22, 2017

The stockings were hung.....

Yes, more Christmas cards from me!  I made 3 of the same design using different colors.
I made my first card in non-traditional Christmas colors for this week's Color Challenge over on Splitcoaststampers - to use plum and two shades of blue.   I stenciled the brick in plum and used two shades of blue on the stocking.
I made the 'mantel' by cutting a piece of woodgrain DP, adhering it to a same-size cut piece of white cardstock to give it weight and popped it up on foam dots.   The holly is cut off of a larger ornament decoration from K and Co.  I inked around the stocking with Ranger Distress Ground Espresso Ink.

My next two card colors were chosen based on the Merry Monday Challenge
I used more traditional colors on these two cards
The only difference between these two is the color I used on the brick stenciling.

Stamps: Rustic Christmas set by Claire Brennan/Waltzingmouse - Retired
Paper:  White, Rustic Cream, Plum Pudding, Americana - PTI, DP Dream St. Papers.
Inks:  Perfect Plum - SU, Hawaiian Shore, Blueberry Sky, Americana - PTI, Ranger Distress Ground Espresso Ink Wendy Vecchi Archival Tree Branch.
Accessories:  foam dots, Holly from Layered Accents Visions of Christmas - K and Co, brick stencil - Wendy Vecchi.