Saturday, August 6, 2016

The Beauty of New England

Once again - I've been neglecting the blog -  seems like life has taken me away from creating for a bit.  I'm actually on vacation this week and Kent and I have been taking mini trips visiting relatives and friends and I thought I'd share some photos.
Over the weekend, we went to visit Kent's brother and his wife in Killington, VT where they have built a beautiful post and beam home - just down the street from Killington Mountain - as Chad is an avid skier.  And it just so happened that the last concert of the Killington Music Festival was held at the summit of the mountain when we visited and they got tickets for us all to go.   
We rode to the top of Killington on the gondolas.
Here is the view around 6 pm that night
Kent and Chad standing by the Catwalk trail sign that would have snow up to the middle of it in the winter.
then the sun began to set and mountains changed to shades of blue. This is taken from inside the room where the concert was.
and then brilliant oranges and reds -  the reflected sparkles are the strings of lights inside the hall.
(I took the photo with my cell phone through the window!)
Here, mostly in silhouette, are two of the three musicians, one on violin, one on viola - the music was magical with the gorgeous views all around us.
This is the view on our gondola ride down the mountain around 9 pm after the concert
I always bring some sort of gift to Carol and Chad to thank them for letting us stay with them.  
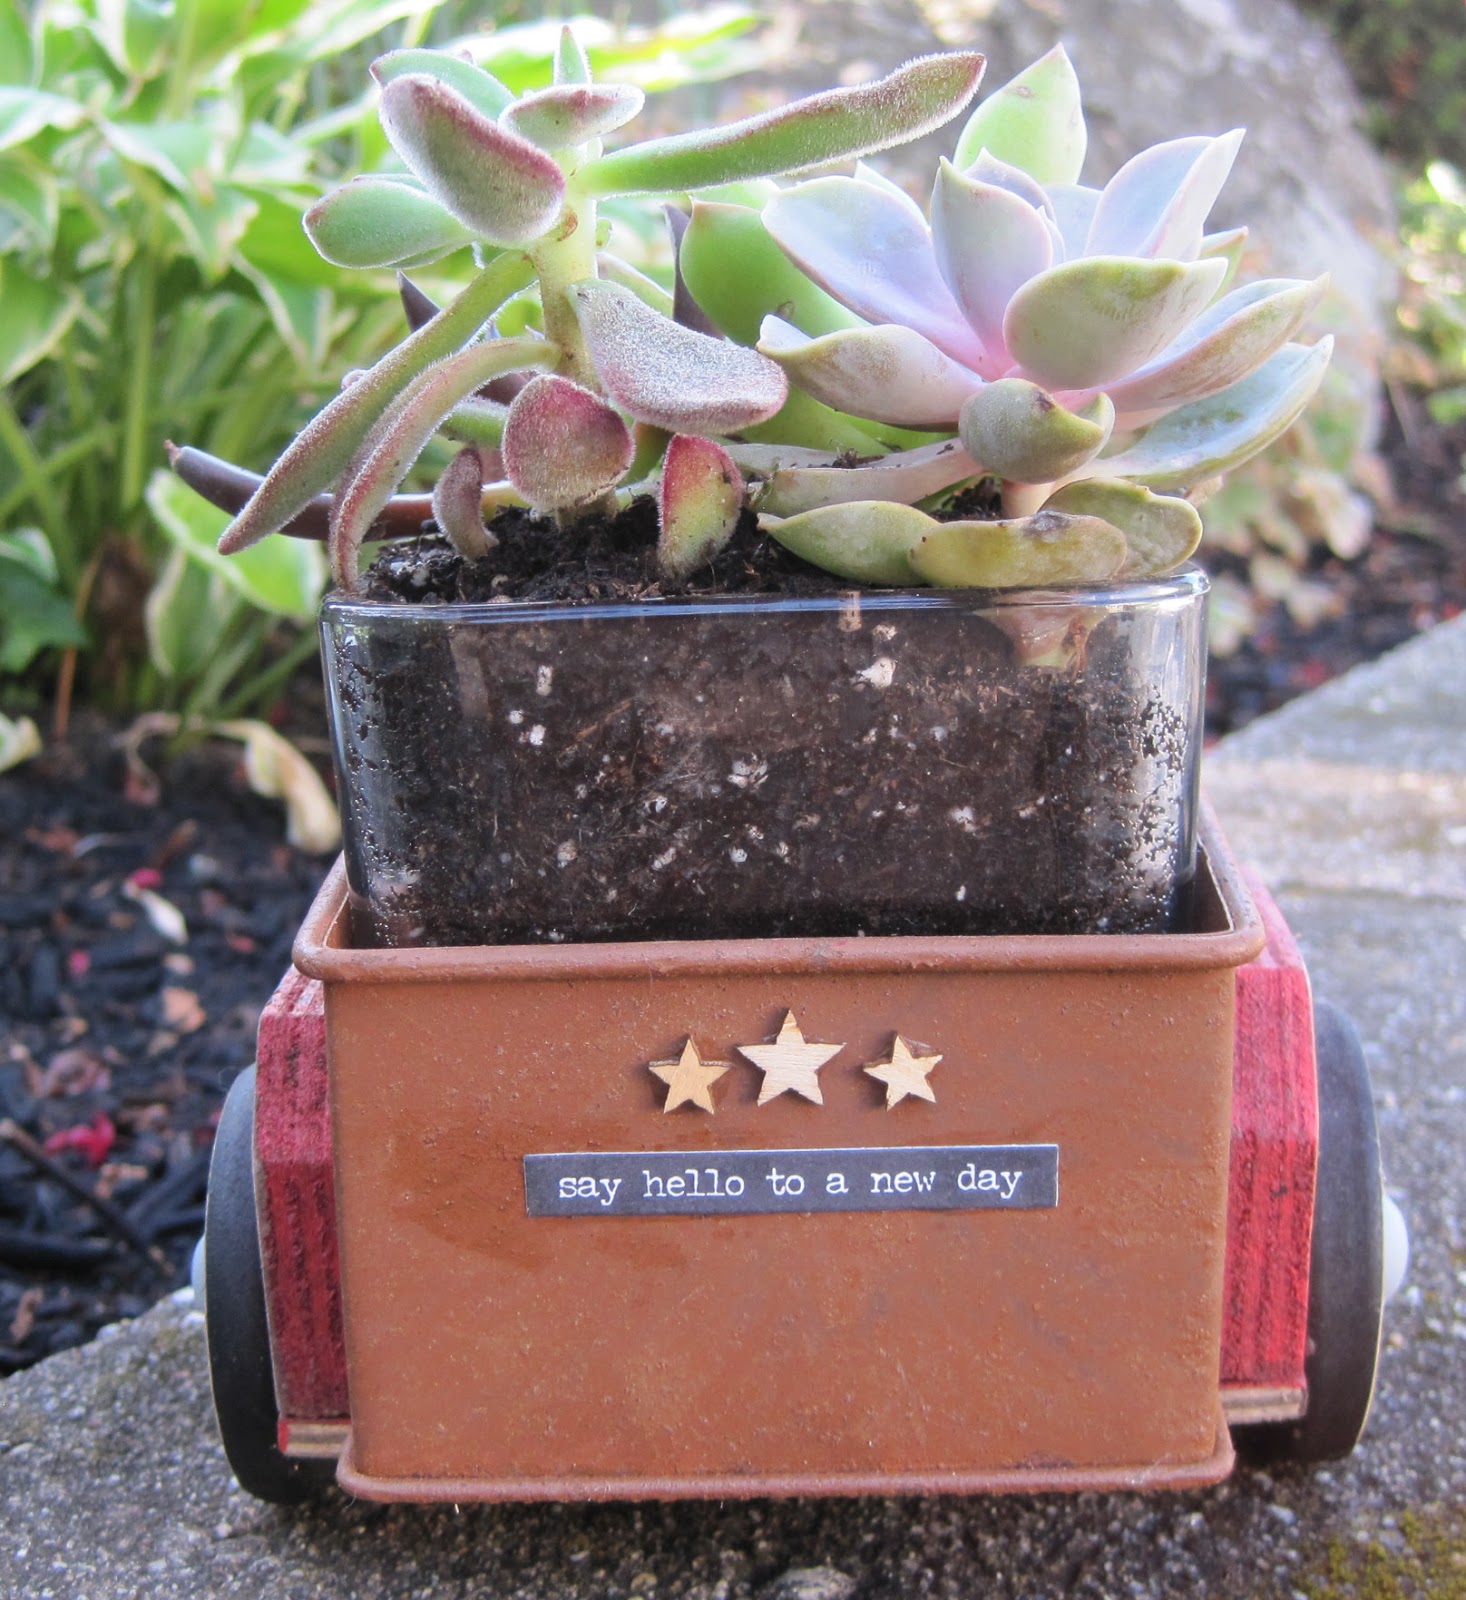
This year I made a succulent garden in a glass vase and put it inside this little metal and wood truck that I had picked up at Joann's last year half price!   (It's supposed to be a bird feeder)
All I added it to it were some little wooden stars on the hood, doors and rear and two Idea-ology Occasions Stickers. 
Carol has made beautiful gardens all around their lovely home - both inside and out - and she said my gift was perfect!

Our next mini adventure was to visit our friends, Flo and Rob, at their families cottage on Lake Winnipesaukee, NH.
We got to stay in a separate 1 room cottage called the Caboose, we had our own half bathroom, a sink, mini fridge, microwave and coffee maker!  How comfy cozy is this!
  And right outside our door we see this! (the main cottage is up the stairs on the right)
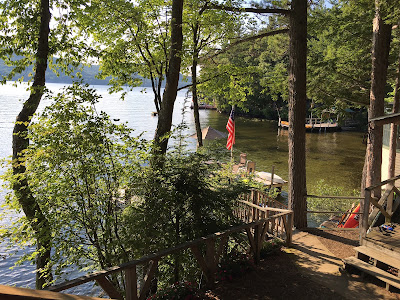
We had a great boat ride around part of the lake,  swam in the lake, laid in the sun, had great conversation with our friends, delicious fried clams for and breathed in the wonderful mountain air!

Thursday, August 4, 2016

A Vintage Journey - August Challenge - Stencil It!

Today is the day the August challenge is posted over at A Vintage Journey.  Amanda is our hostess this month and her challenge is "Stencil It"
Here is the challenge description:
There are so many fantastic stencils available to us right now and so many ways in which to use them so we would like you to include stenciling in whatever it is you choose to create for this challenge. Don’t forget all the ways in which they can be used – inks , sprays , paints, texture/embossing pastes and gesso are all stencil friendly. So be sure to have fun and embrace your stencils in your vintage; shabby; mixed-media; art journaling; industrial or steampunk projects.
I got out a bunch of my Wendy Vecchi supplies to create my stencil project.
First I used Wendy's technique for creating a fun background panel.  I dropped two colors of WV Archival re-inkers (Sunflower and Garden Patina) onto my craft mat, added Rubbing Alcohol (Mineral Spirits) and swirled them together with a pallet knife.
Then I dragged some panels of Ranger Specialty Paper through the mix, letting it drip down, hitting it with my heat tool, rubbing it back in the inks - until I was happy with how each piece looked.  Here are the panels I ended up with.
 My intention was to use one of the larger panels - but after several false starts - I ended up using the smaller piece!  I used 3 WV stencils on this little 2 3/4" x 4" panel.  First I sponged WV Archival Cornflower Blue ink through a portion of the Check Mate Stencil.  Then I sponged WV Archival Watering Can through the Repeating Quilt Stencil.  I finished my design with Archival Jet Black ink sponged over the stripes part of the Dots and Stripes Stencil.
 Then I needed a larger panel to layer this to - so I cut another piece of Specialty Paper 4" x 5 1/4".  First I did some partial stampings - using Cornflower Blue Ink on the Ornate Dots Background stamp and Watering Can Ink on the Script Background stamp.  Then I randomly stenciled with Garden Patina Ink over the Check Mate Stencil.  I sponged the edges with Sunflower Ink to tie it into the front panel.
I added a piece of Commute Tissue Tape behind the smaller panel and stapled a piece of Film Strip Ribbon across the top of the panel. 
I layered the small panel over the larger panel with foam dots to add a little dimension.  To finish it off, I adhered a Small Talk sticker to the panel.
I even added stenciling on the inside of my card!  I sponged WV Archival Garden Patina ink through the HAPPY BIRTHDAY on the WV All Occasions Sentiments stencil - I masked around the words I wanted so it was easier to sponge cleanly without worrying about sponging over onto another word!
I added another Small Talk Sticker above the stenciling "a party without cake is just a meeting'.
 So get out your stencils (we KNOW you have them!!) and link up your creation over at A Vintage Journey!  We can't wait to see how you will inspire us!!  

 Our sponsor this month is the very generous Country View Crafts and the random winner will receive a £20 voucher to spend in store.There will also be three pinworthy winners chosen by the Creative Guides who will receive a pinworthy badge for their blog and an invite to be a Guest Designer here at A Vintage Journey for a future challenge.   Check out all the details over at AVJ!

Stamps:  Wendy Vecchi Studio 490/Stampers Anonymous Background Ornate Dots, Background Script.
Paper: Specialty Paper - Ranger, True Black, White - PTI
Ink:  Wendy Vecchi Archival Sunflower, Garden Patina, Watering Can, Cornflower Blue, Reinkers SunFlower and Garden Patina,  Archival Jet Black.
Accessories:  Wendy Vecchi Studio 490/Stampers Anonymous Stencils Dots & Stripes, Check Mate, Repeating Quilt, All Occasion Sentiments, Idea-ology Film Strip Ribbon, Tissue Tape/Commute, Small Talk Stickers, foam dots, Mini Attacher - Ranger.
 

Thursday, July 28, 2016

AVJ Tag Friday

Whenever there is a 5th Friday in a month it's Tag Friday over at A Vintage Journey.  
(of course, it's still Thursday night posting here from the USA -  but it's 7 am Friday across the pond!) 
As one of the AVJ Creative Guides -  I signed up to contribute this month - and since we are in the throws of a hot summer here in Massachusetts - I was inspired to use a seaside theme!
Here are a few photos of how I put my tag together.  First I brushed over a #8 manila tag with Picket Fence Distress Paint and dried it with my heat tool.
Then I brushed over the white paint very unevenly with Weathered Wood Distress Paint and dried this layer with my heat tool.
I randomly stamped over the tag using stamps from this stamp set Beside the Seaside from Crafty Individuals.   I used WV Potting Soil Archival ink.

I sprayed some Salty Ocean Distress Spray Stain on my craft mat and then sprayed water over the stain.
I dragged my tag through the mix and let it drip down the tag - then dried it with my heat tool, mopping up any dark pools of stain.
I mopped up what was left on the craft mat with two tags - that I will use another day!
I stamped the bathing beauty from the stamp set with Potting Soil ink on Vintage Cream card stock, cut her out, sponged the edges with Tea Dye Distress Inks and layered her over the tag with foam dots.
I colored her cheeks with my Spun Sugar Distress Marker.  I cut an Idea-ology Small Talk Occasions sticker in half, sponged the edges with Tea Dye Ink and adhered it to the tag.
I stamped another one of the sentiments from the stamp set onto a piece of Vintage Cream cardstock and cut it with a Stitched Mat Rectangle die from Lil' Inker Designs. I sponged the edges with Tea Dye Ink.  I added two small shells I picked up off the beach on Sanibel Island, FL when Kent and I were on vacation there several years ago. (I knew I'd want them someday!)  I also added some 'sand' that I made using Tim's recipe for this card.  I looped a piece ofLinen Ribbon through the hole in the tag - I love the look you get when you pull the ends of this ribbon open - it looks almost like fish nets!
This tag makes me want to go to the beach this weekend!  We are so lucky to live on the North East Coast of the US - we have many beaches near us although they can get very crowded and you have to go early to get a parking spot!

So if you have a few minutes and would like some AWESOME tag inspiration -  please check out all the beautiful designs and techniques the Creative Guides have used this month on their tags!

And you have until Thursday 4th August 2016 to make a project for our July Monochromatic Challenge - Our challenge is a monthly one and a randomly chosen winner will receive a $25 gift voucher from our generous sponsor, The Funkie Junkie Boutique. We also award our Pinworthy badges to the Top 3, chosen by the Creative Guides who are subsequently invited to join us on the blog as a guest designer.
 You can find all the Creative Guide projects, guest designers, pinworthies and winners on our Pinterest boards.

I'm also linking my creation to:
Anything But Cute Challenge - Summertime Fun

Frilly and Funkie - By the Sea Challenge

I'm on vacation for a week starting tonight after work!  We have a trip to Vermont planned to visit Kent's brother and sister-in-law, a trip to Lake Winnepesaukee in New Hampshire to visit friends and a stop in Eaton Center, NH to visit some family!  I'll need a vacation after my vacation to rest up! 
Stamps:  Crafty Individual
Paper:  #8 Manila Tag - Ranger, Vintage Cream and Dark Chocolate cardstock - PTI.
Ink:  Wendy Vecchi Archival Potting Soil, Ranger Distress Tea Dye.
Accessories:  Stitched Mat Rectangle Die - Lil'Inker Designs, Idea-ology Small Talk/Occasions Stickers, Linen Ribbon, Ranger Distress Spray Stain Salty Ocean, Ranger Distress Paint Picket Fence and Weathered Wood, water Mister - Ranger, foam dots, shells from beach, sand using Tim Holtz recipe

Monday, July 25, 2016

Lest You Forget How Much You Love the Beach

I'm excited to share my little ocean view Vignette Box today. 
Here are a few photos of how I put this together.  I had a 7" diameter circle of cardboard from the bottom of a small pizza.  I cut out a 3 1/2" x 5 1/8" rectangle to line the box.  I tore off some of the paper covering it and brushed over it with a wash of Ranger Distress Picket Fence Paint and water and dried it with my heat tool.  Then I sprayed some Salty Ocean Distress Spray Stain onto my craft mat, spritzed over the stain with water and dragged the painted cardboard panel through it letting it drip down.  I dried that layer with my heat tool and then stamped over the panel with Cover a Card Bubbles Stamp from Impression Obsession using Mermaid Lagoon Distress Ink.
I die cut the Seahorse and Wild Flower stem out of a tan Paper Leather Sheet.  I used Eileen Hull's Honeycomb embossing folder to give texture to the seahorse, rubbed over the seahorse with Distress Ground Espresso Ink and added a Candy Dot eye.  I looped the tail around the stem, glued the stem flat onto the panel and used foam dots under the seahorse  I added some "sand" using Tim Holtz recipe.  I added a Small Talk sticker - which way to the beach? after cutting it in half and sponging the edges with Vintage Photo Distress Ink. .
I used thick foam dots behind the panel to hold it up a bit inside the Vignette Box.
I had two half circle pieces of cardboard left over from the pizza cardboard and realized one would fit perfectly at the top of my Vignette Box!  I tore off some paper and painted it with the same Picket Fence paint and water wash.  I stamped this lovely quote stamp from Gift From the Sea set by Gina K Designs onto a piece of Kraft card due cut with a Stitched Mat Rectangle Die from Lil' Inker Designs.
I sponged the edges of both of them with Ranger Distress Vintage Photo Ink. I put a piece of Linen Ribbon behind the sentiment and added two real shells in the corners.
I adhered twine along the sides and bottom edge of the frame.  I added a Starfish die cut from Paper Leather and sponged with Ground Espresso with a green enamel dot in the center.  I added a little more sand to the bottom of the frame as well as another little  real shell.  
(you can still see some of the white glue I used as it was so humid when I was making this it took forever to dry! when it does dry it will be completely clear)
I added two wooden circles to the base of the box for feet.  I sponged the edges with Distress Ground Espresso ink.  The box is a little back heavy so I had to place them a little off center, closer to the back to balance it.
I love these Vignette Boxes - and I'm so happy with how my little ocean scene came out inside it!
I'm linking my project to the following challenges:
Anything But Cute - Summertime
 Stamps & Stencils - Tic Tac Toe  
I used Corrugated Cardboard, Circles (stamp) and String (twine)
Stamps:  Cover a Card Bubbles - Impression Obsession, Gifts from the Sea - Gina K Designs.
Paper:  corrugated cardboard, Paper Leather Sheets - Sizzix.
Ink:  Jet Black Archival Ink, Ranger Distress Ground Espresso, Vintage Photo, Mermaid Lagoon.
Accessories:  Picket Fence Distress Paint, Salty Ocean Distress Spray Stain, Neutrals Candy Dots - SU, Eileen Hull Honeycomb Embossing Folder - Sizzix, Stitched Mat Rectangle Die - Lil' Inker Designs, Wild Flowers Thinlets Die, Sand and Sea Die - Tim Holtz, thick foam dots, sea shells from stash, Idea-ology Linen Ribbon, Small Talk Occasion Stickers.